


How To tie a scarf

Collection (0)
Discover the art of knotting with Inoui Editions. Eleven simple and elegant ways to showcase the House’s spectacular prints. Western, top, bustier, classic or retro, everything is allowed!
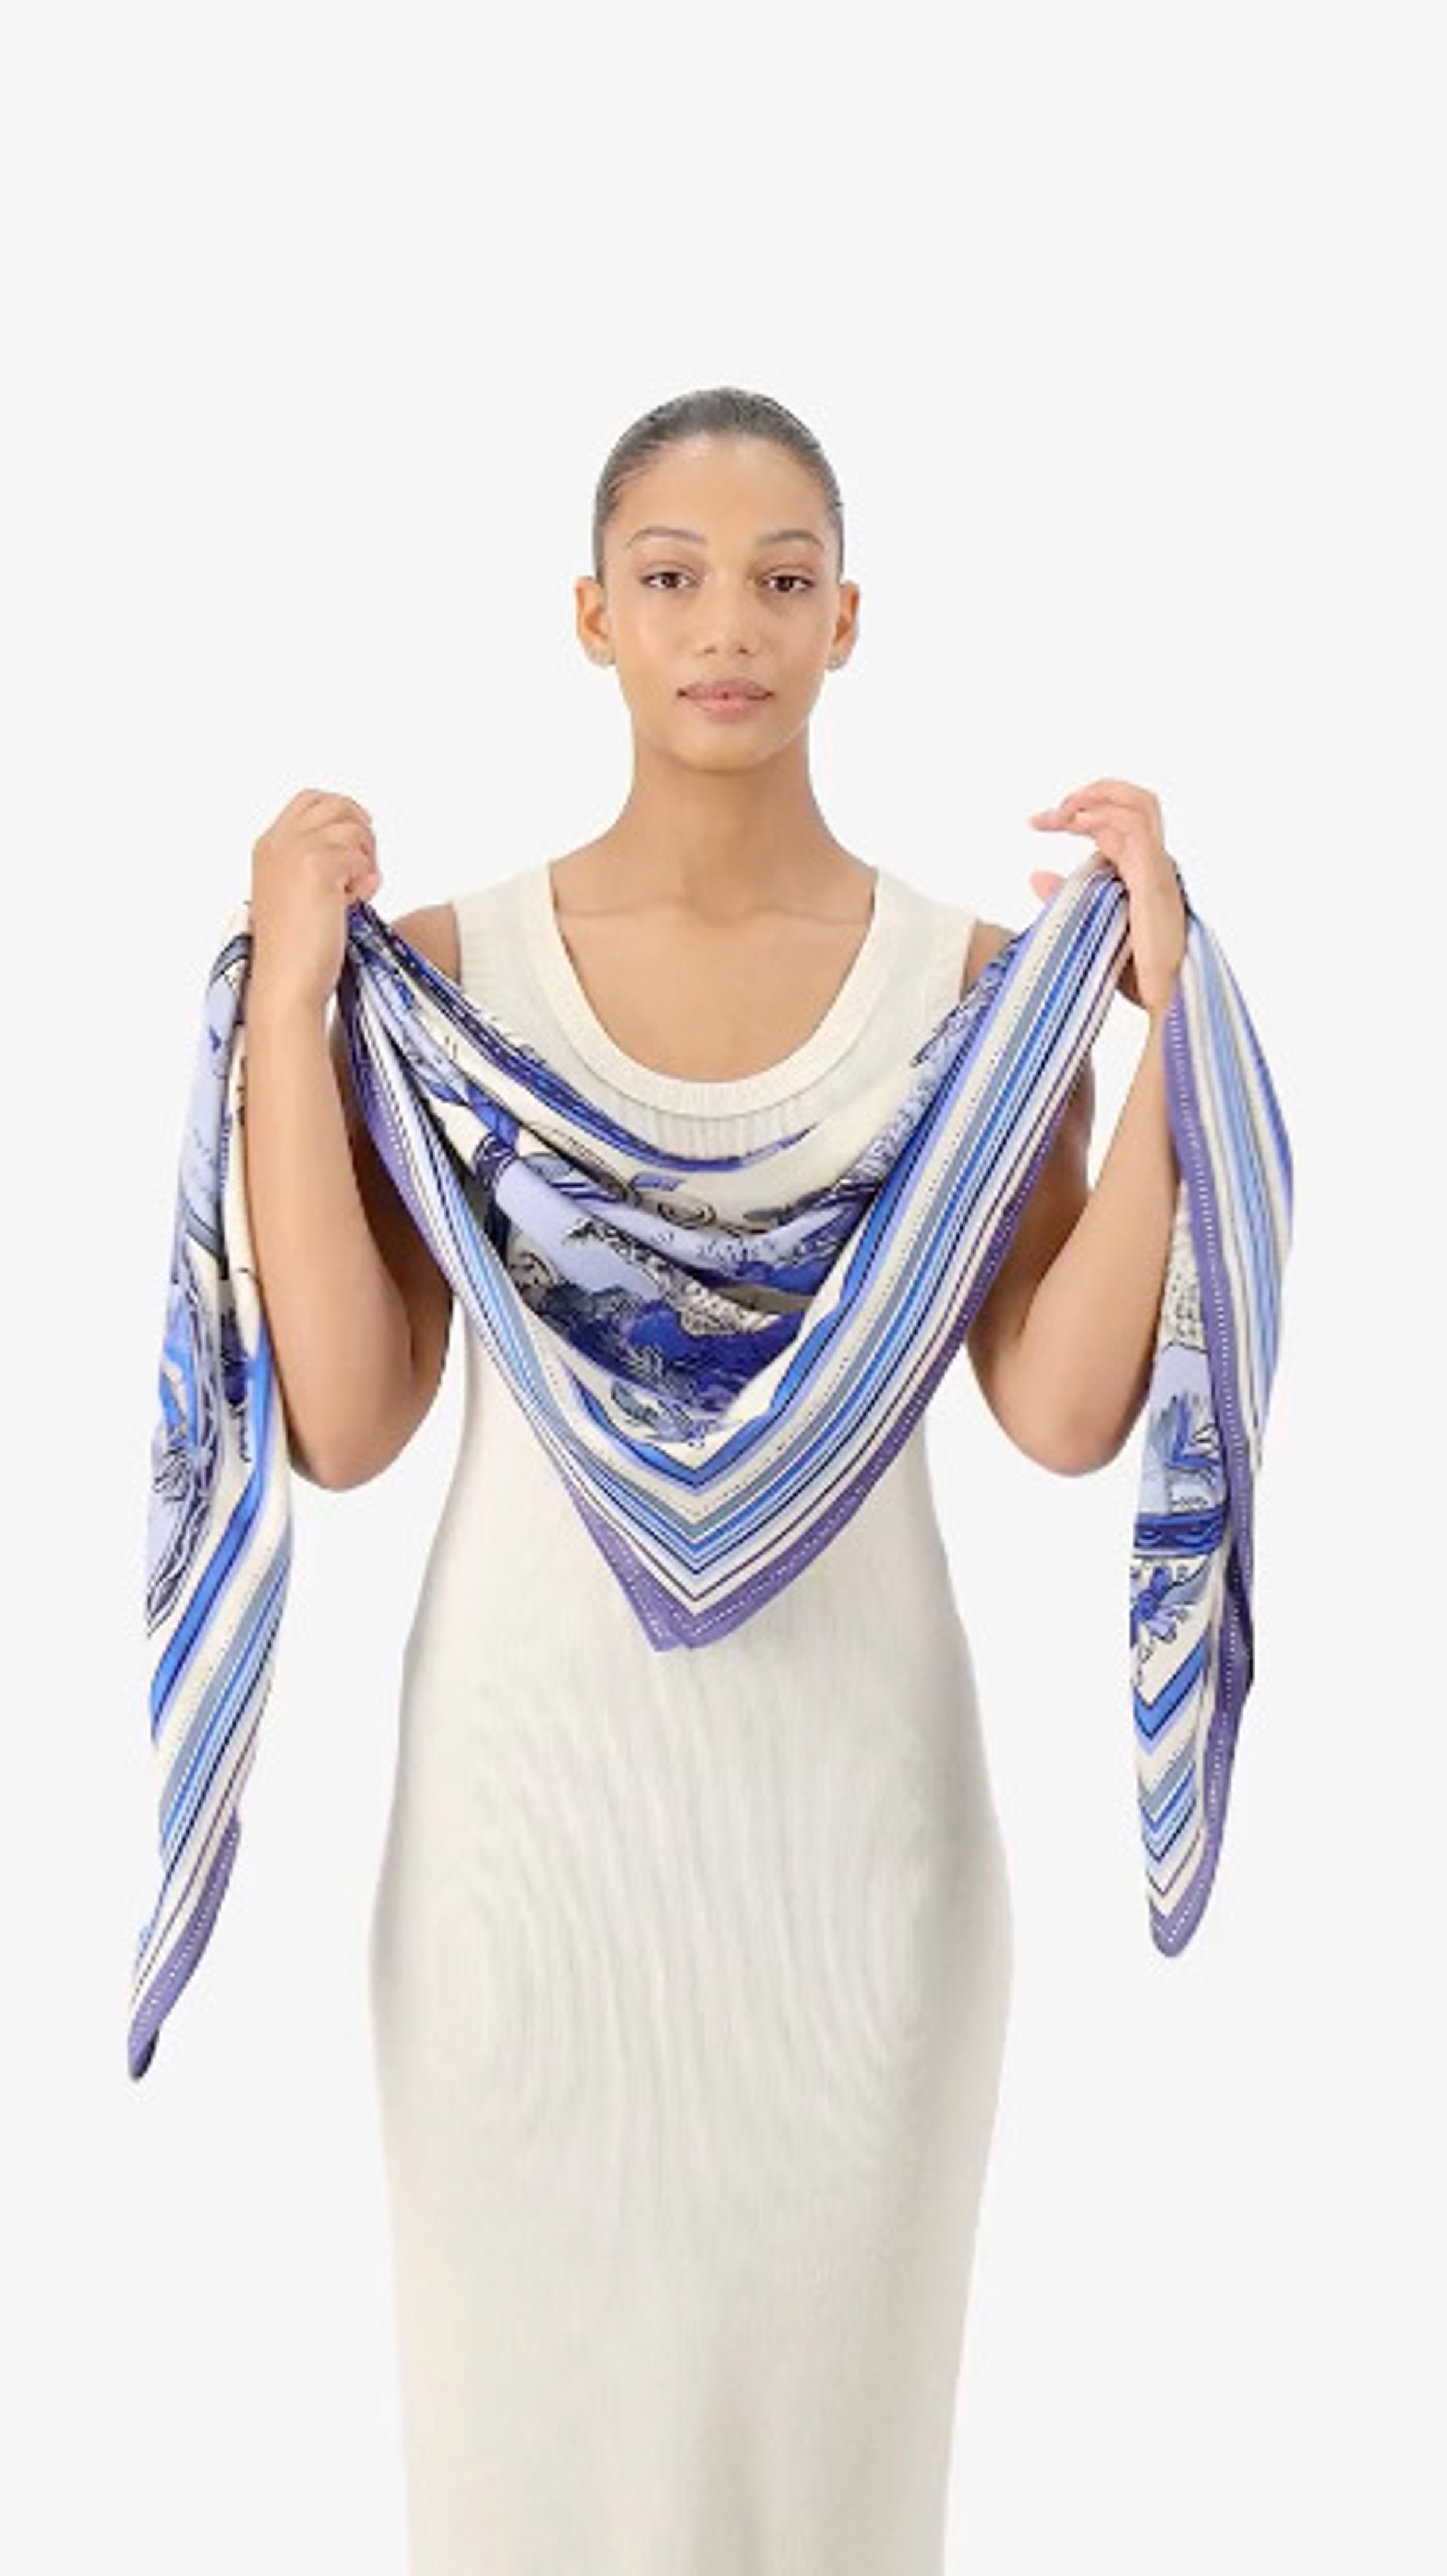
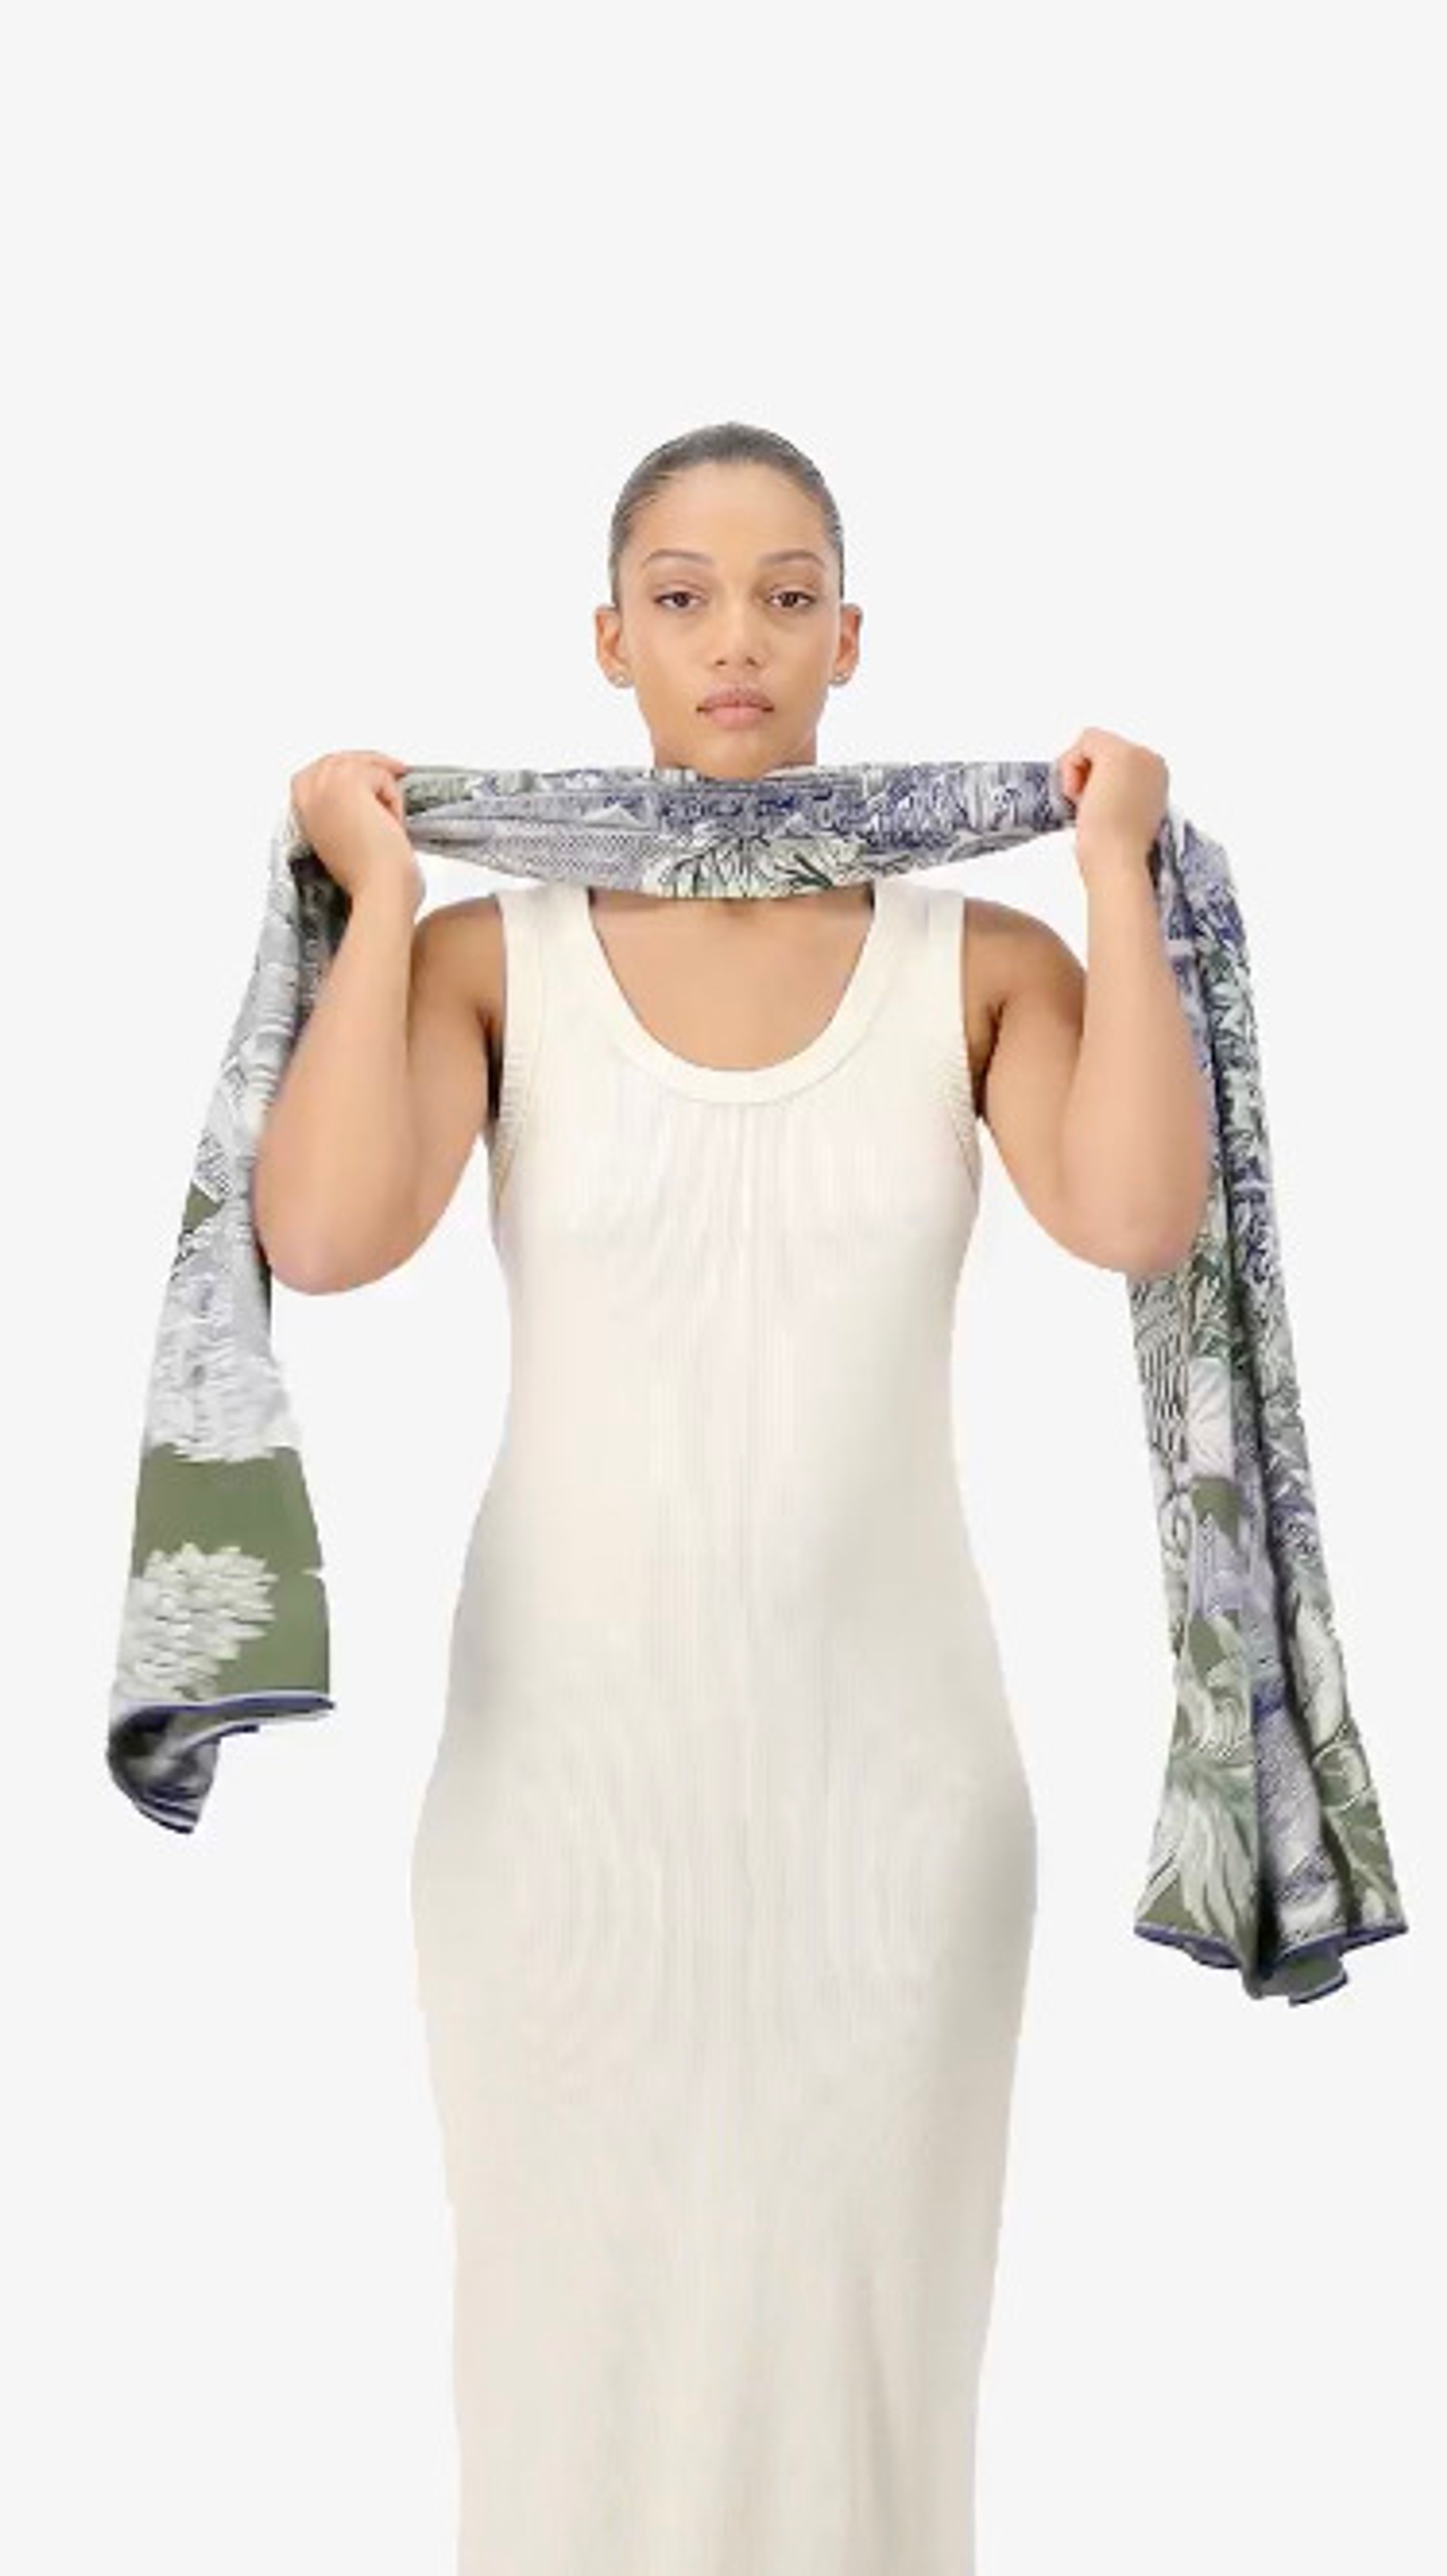
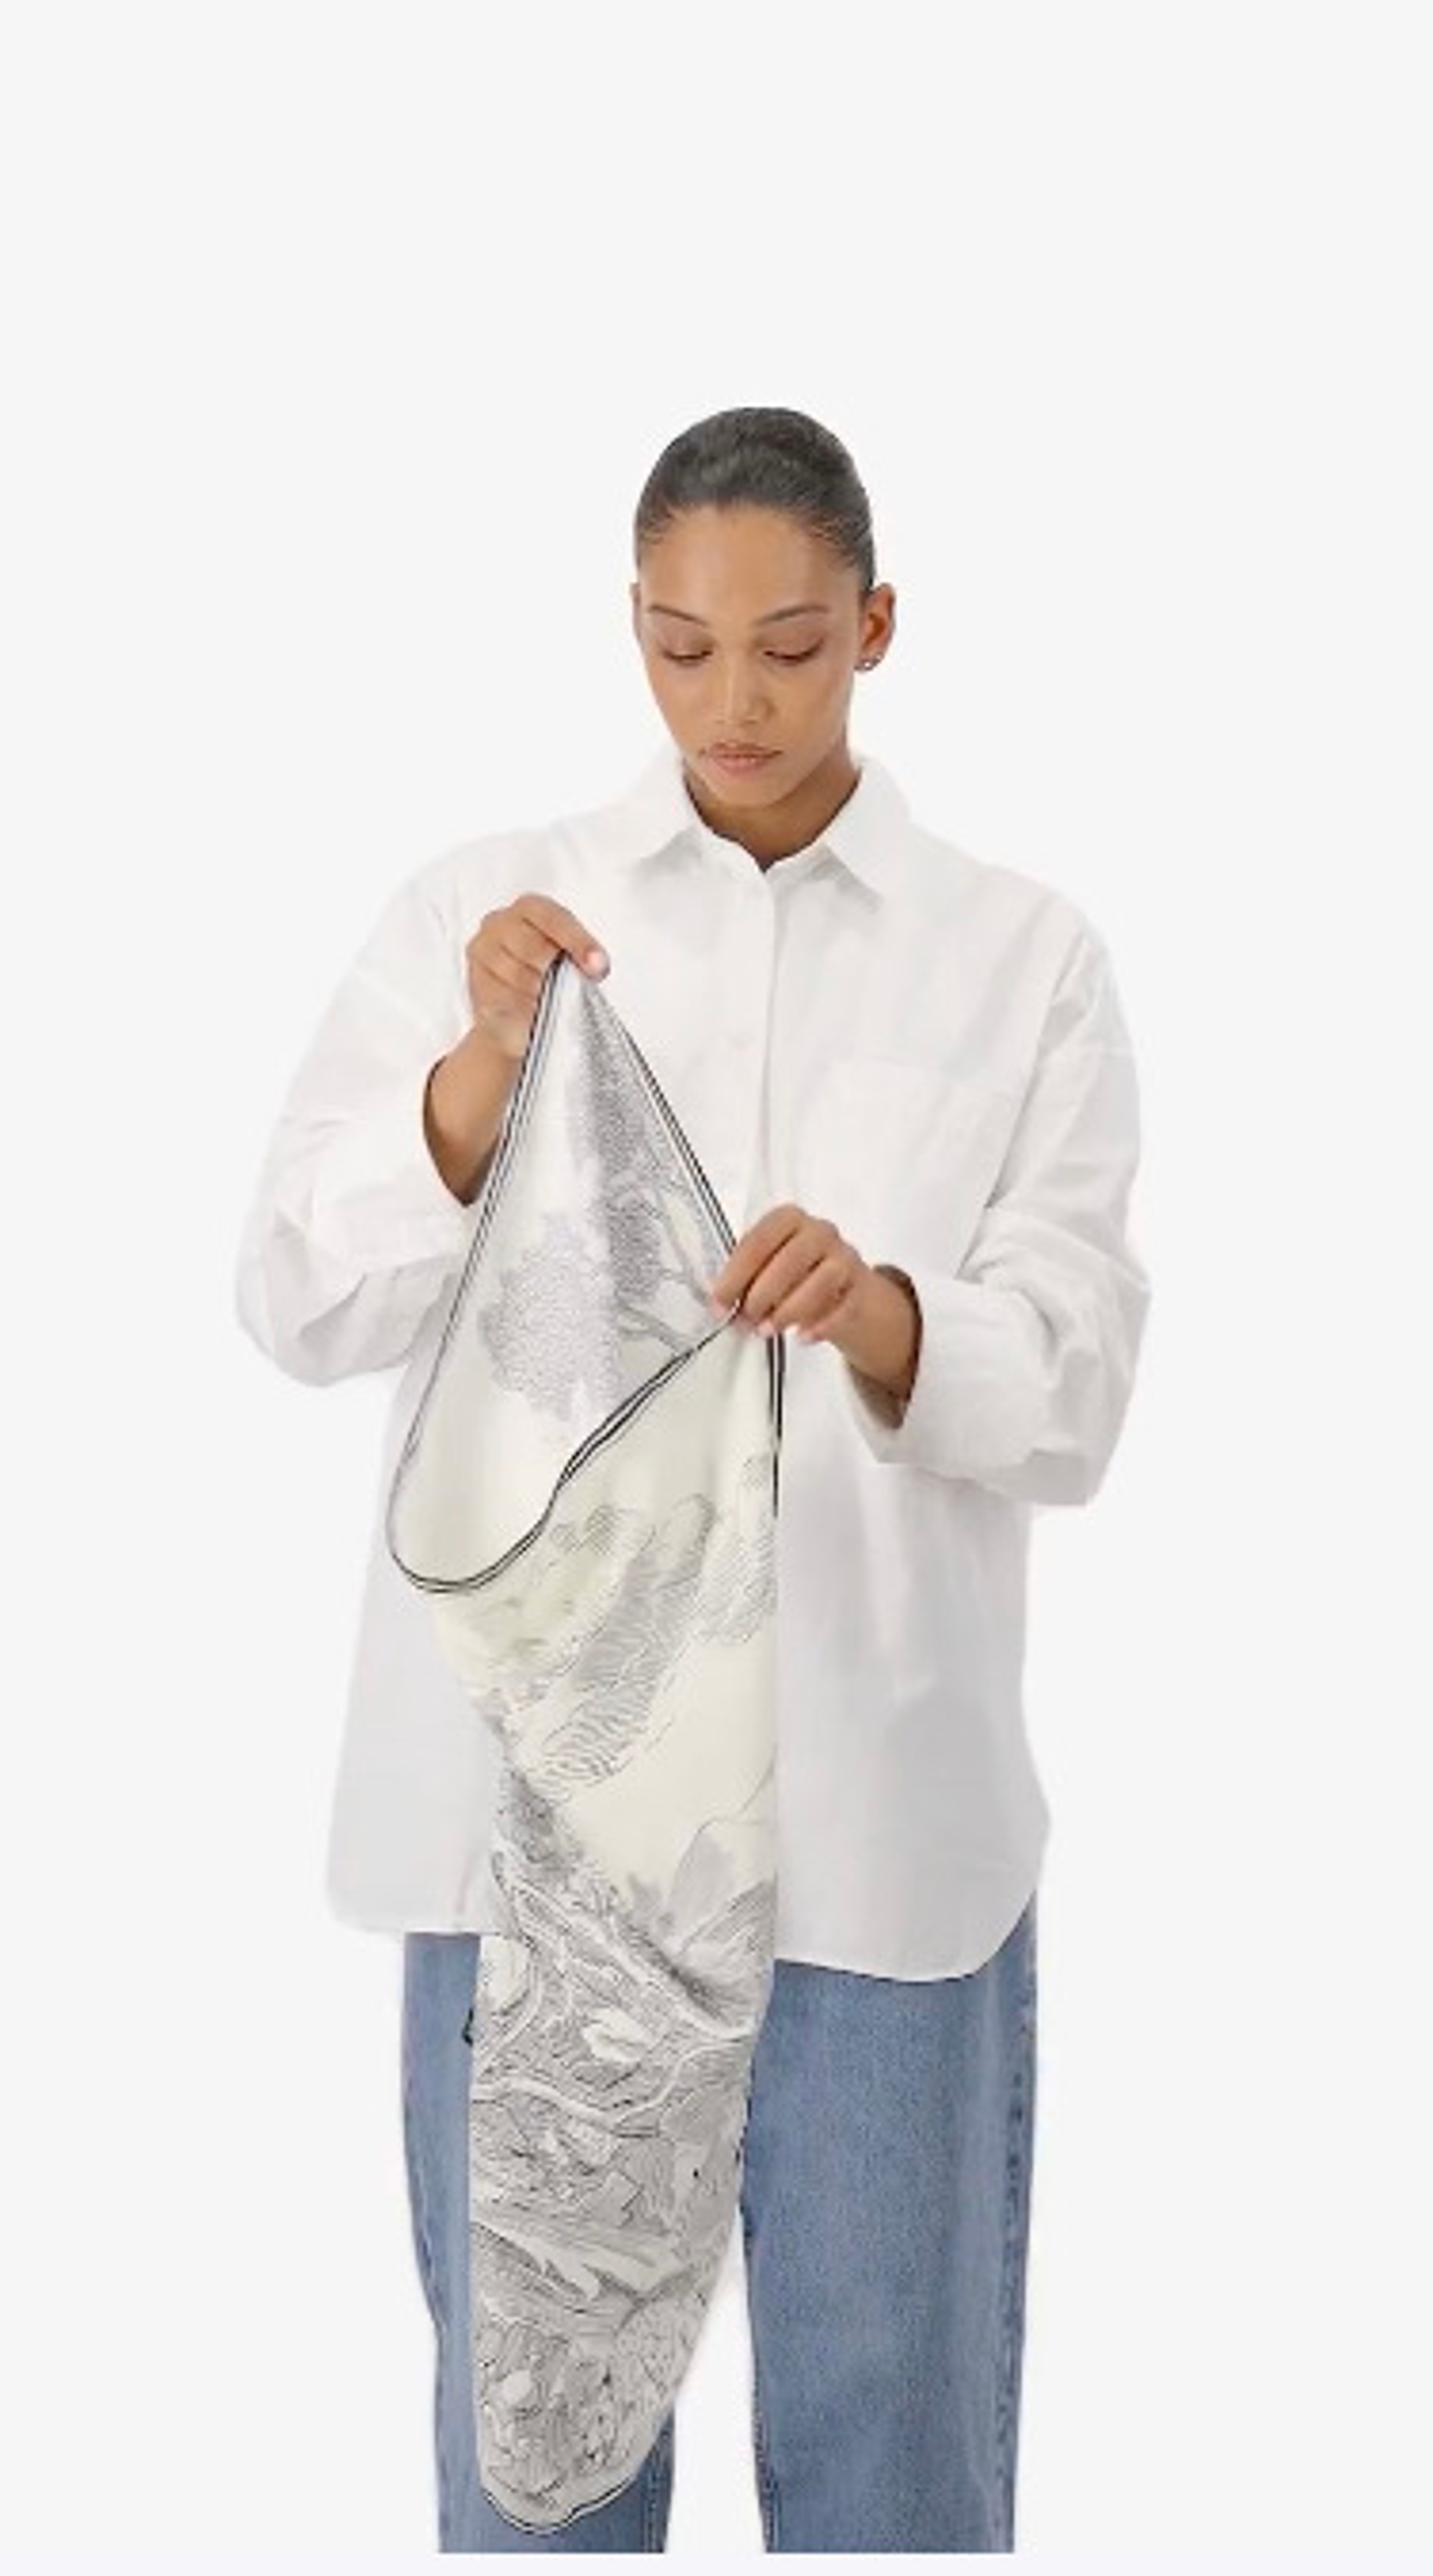
Triangle Knot
1. Fold your square in half to form a triangle. 2. Place it around your neck, point facing forward. 3. Bring both ends to the front and tie them simply. 4. Adjust the scarf for an elegant and majestic look.
Captions not needed: Video has no sound.
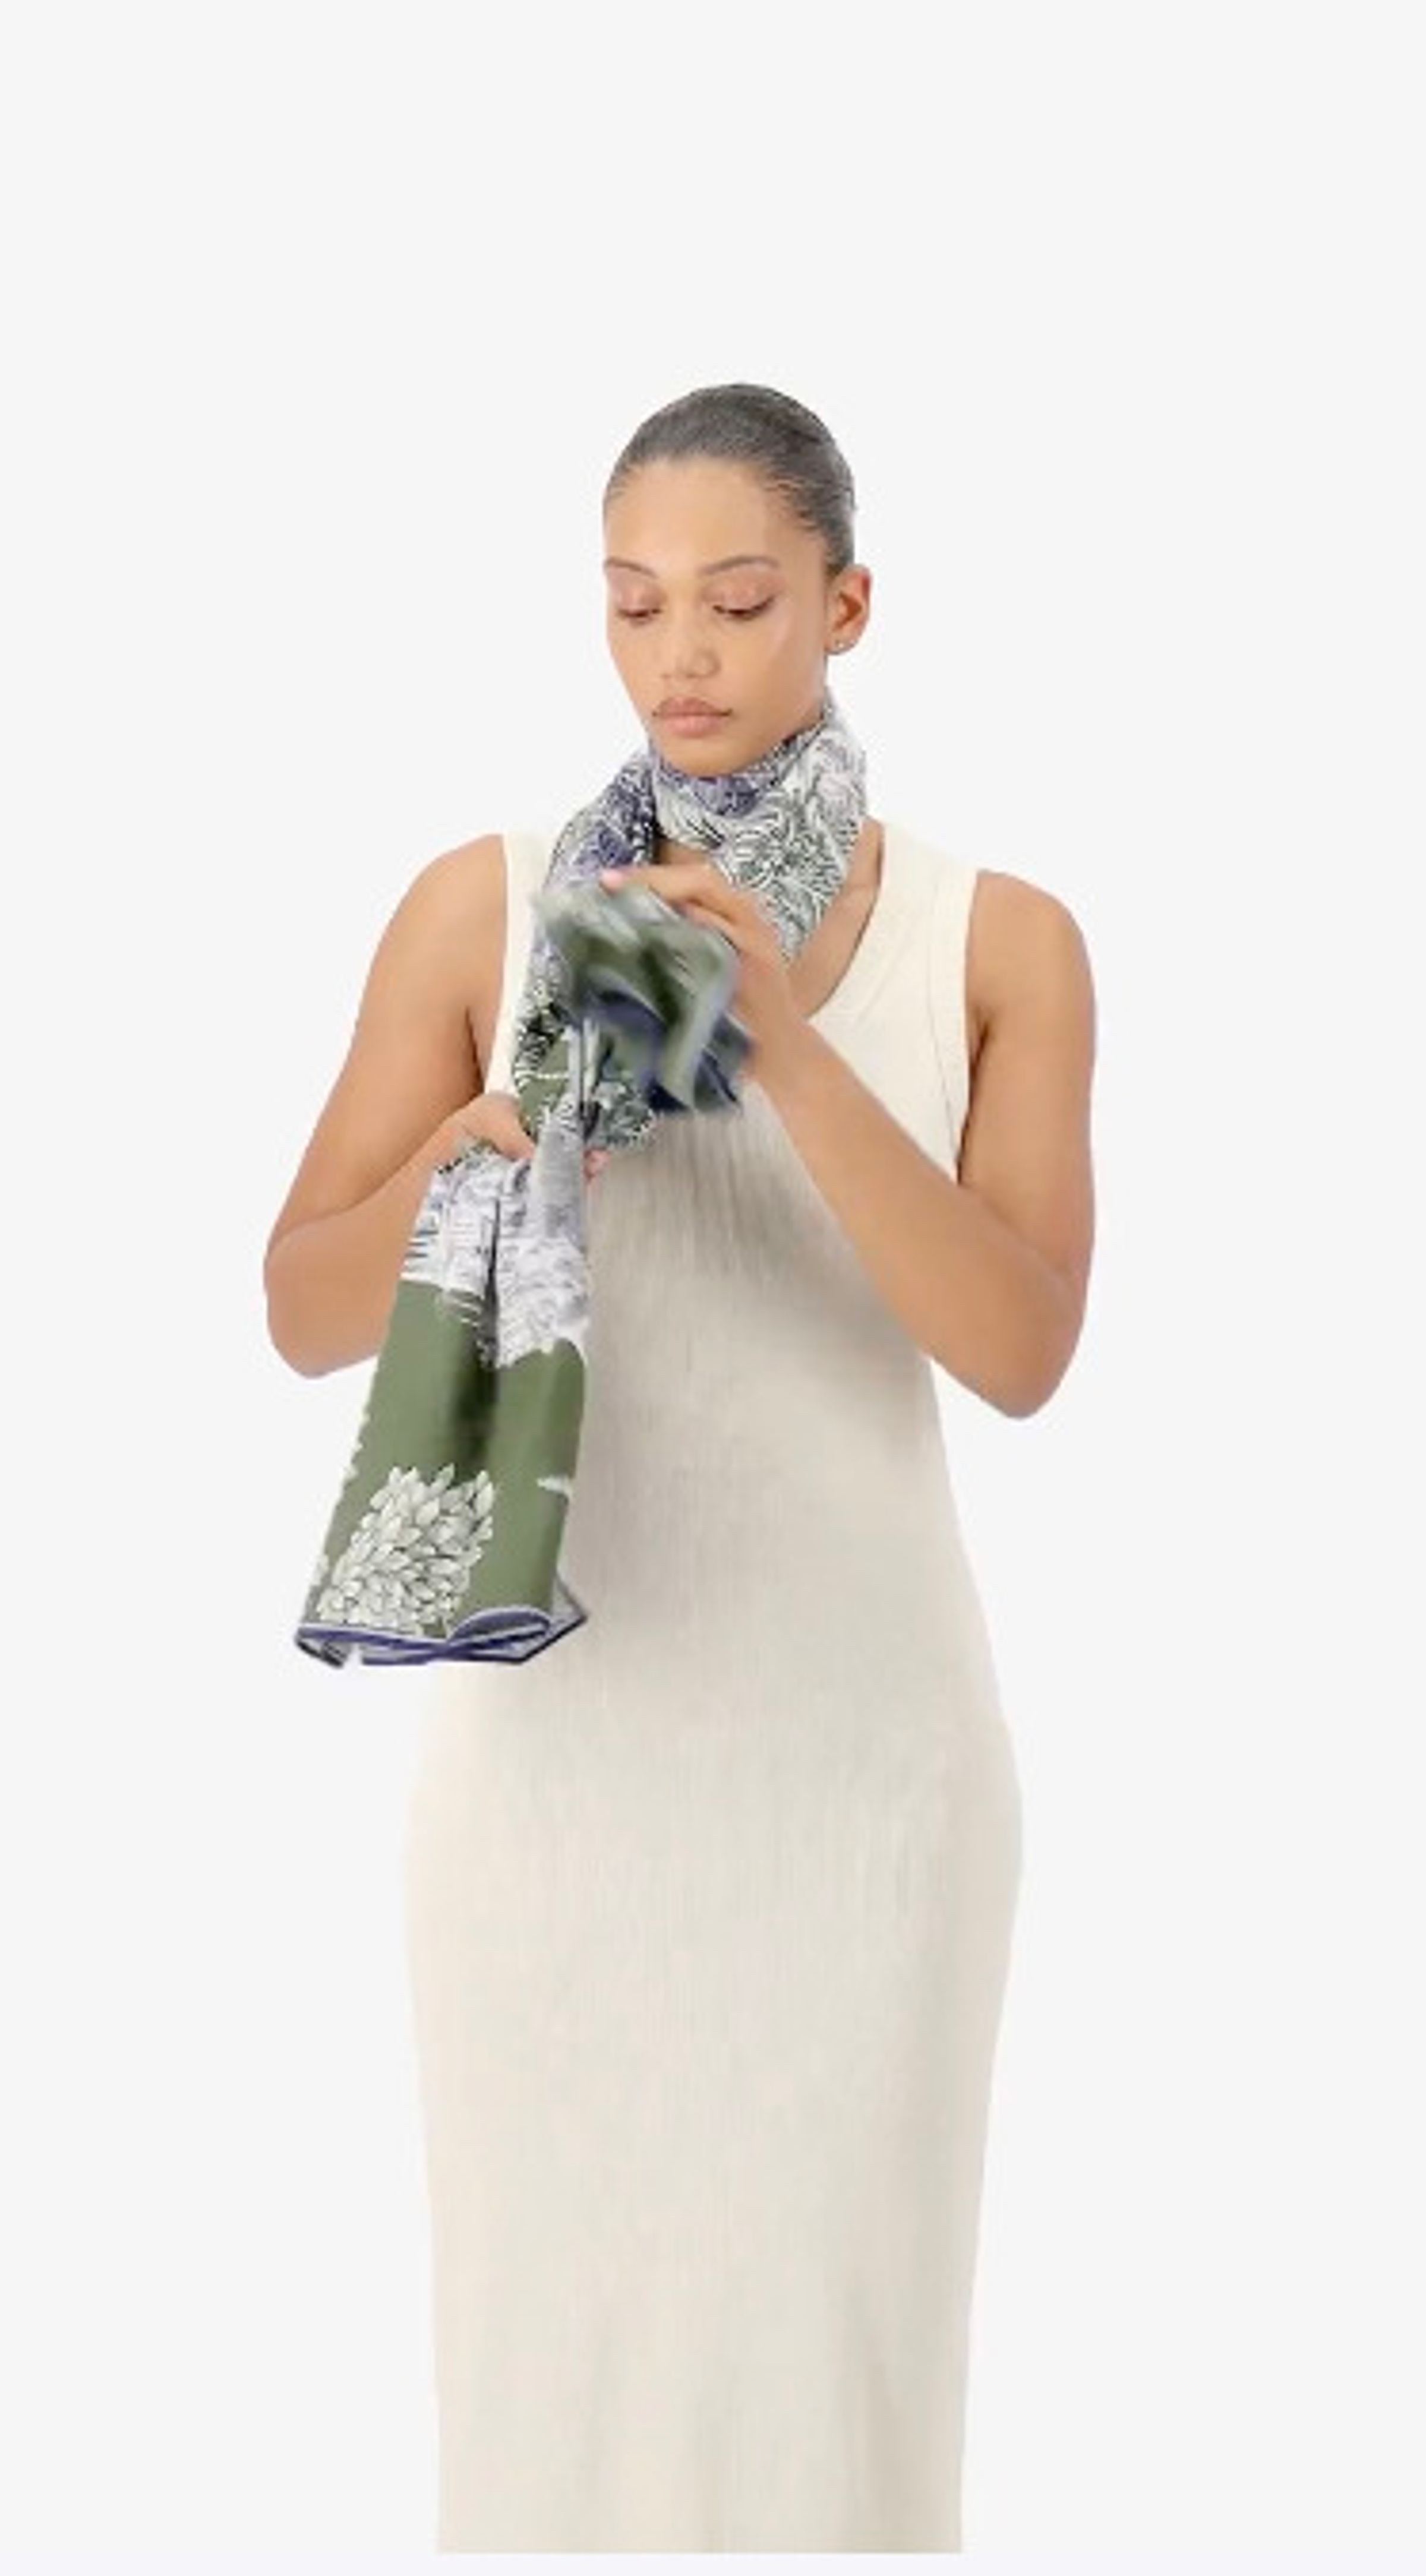
Simple Loop
1. Wrap the scarf around your neck, letting both ends fall behind you. 2. Bring them back to the front. 3. Drape one end over your shoulder. 4. Leave the other hanging in front for a simple style that keeps you warm.
Captions not needed: Video has no sound.
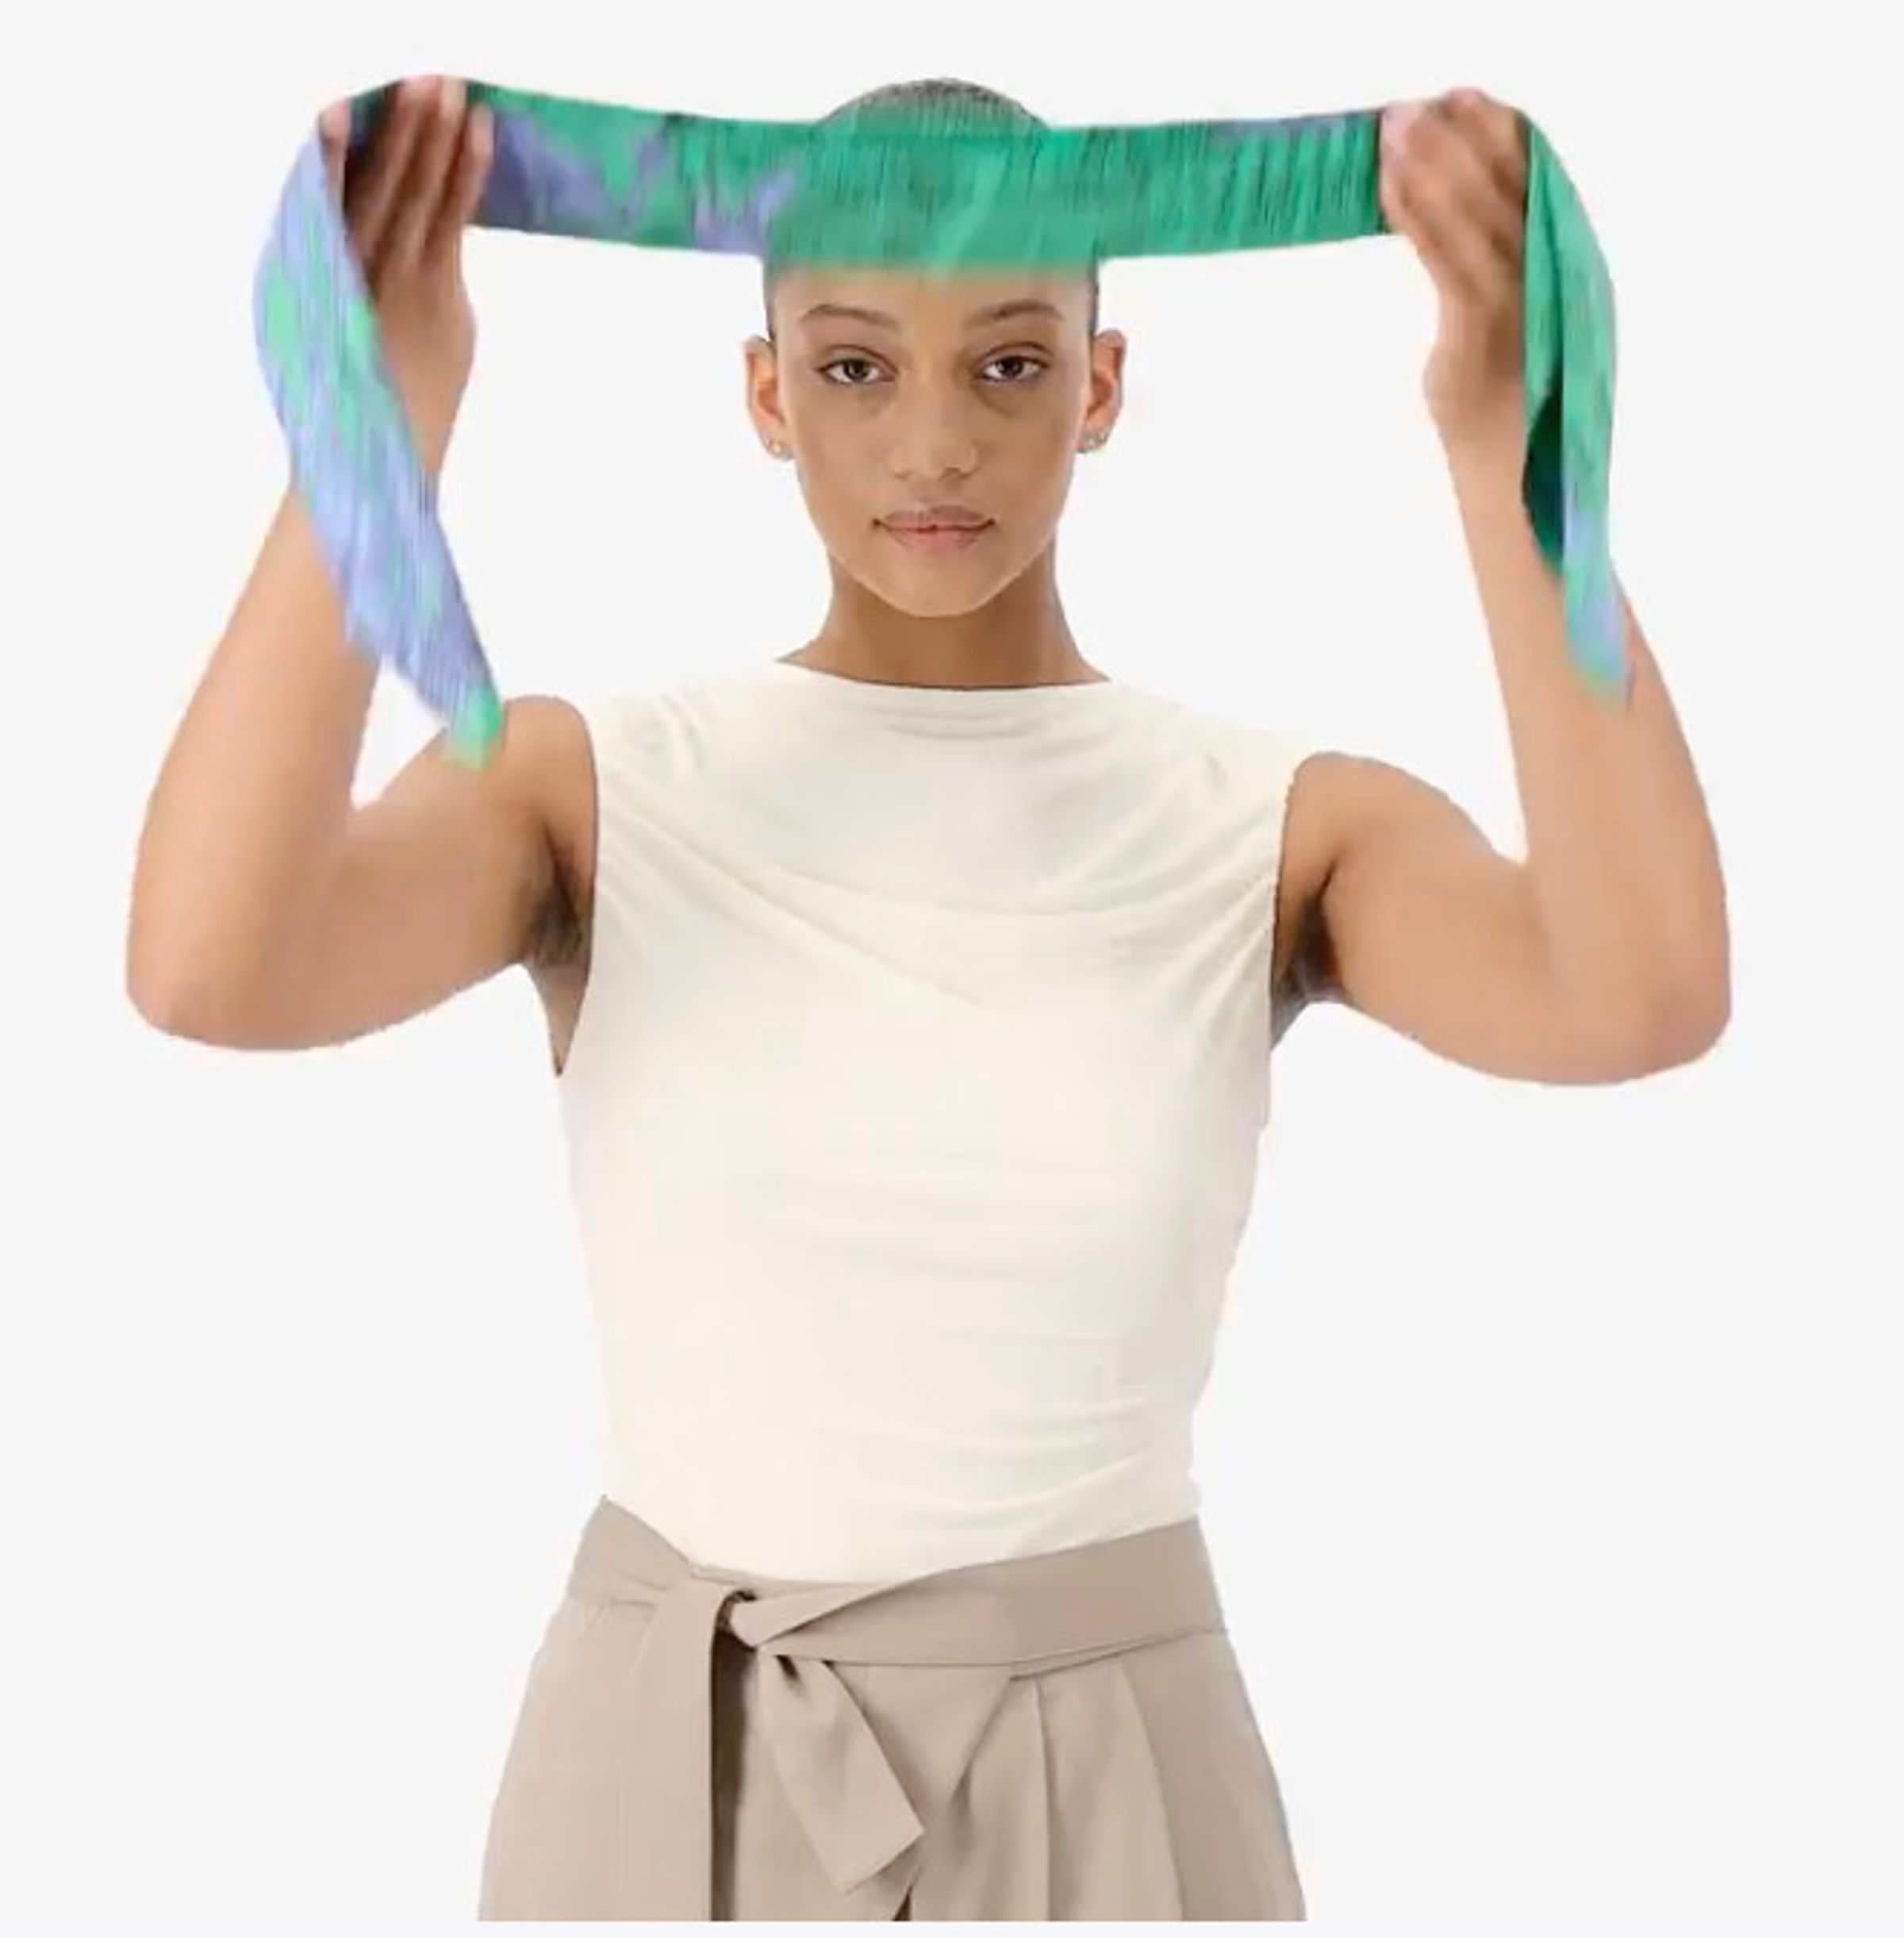
Retro Knot
1. Fold your square in half to form a triangle. 2. Place it around your head, point facing backward. 3. Bring both ends to the front and cross them. 4. Pass the ends back behind your head and tie them. 5. Adjust for a guaranteed vintage effect.
Captions not needed: Video has no sound.

Draped Top
1. Take a silk square. 2. Tie two ends around your neck. 3. Bring the other two ends to the back and tie them. 4. Don’t pull the scarf too tight to create an elegant draped effect.
Captions not needed: Video has no sound.
Double Crossed
1. Fold your scarf in half lengthwise to form a narrow rectangle. 2. Wrap it around your neck, keeping the loop on one side and the two ends on the other. 3. Pass one end through the loop, like a Parisian knot. 4. Slightly twist the loop and slide the second end through. 5. Gently pull both ends to create the crossed effect.
Captions not needed: Video has no sound.

Flap Knot
1. Place the scarf around your neck, letting both ends hang in front. 2. Bring both ends to the same side. 3. Tie them together to create a small, elegant fold. 4. Slide one end to the back and let the other hang in front.
Captions not needed: Video has no sound.
Western Knot
1. Fold your square in half to form a triangle. 2. Place it around your neck, point facing forward. 3. Bring both ends to the front and tie a simple knot. 4. Adjust so the triangle point falls nicely: a ready-for-the-Far-West style.
Captions not needed: Video has no sound.
Parisian Knot
1. Fold your scarf in half lengthwise to form a narrow rectangle. 2. Wrap the scarf around your neck, keeping the loop on the shorter side. 3. Pass the free ends through the loop./ 4. Adjust the length and position for a neat and elegant look.
Captions not needed: Video has no sound.
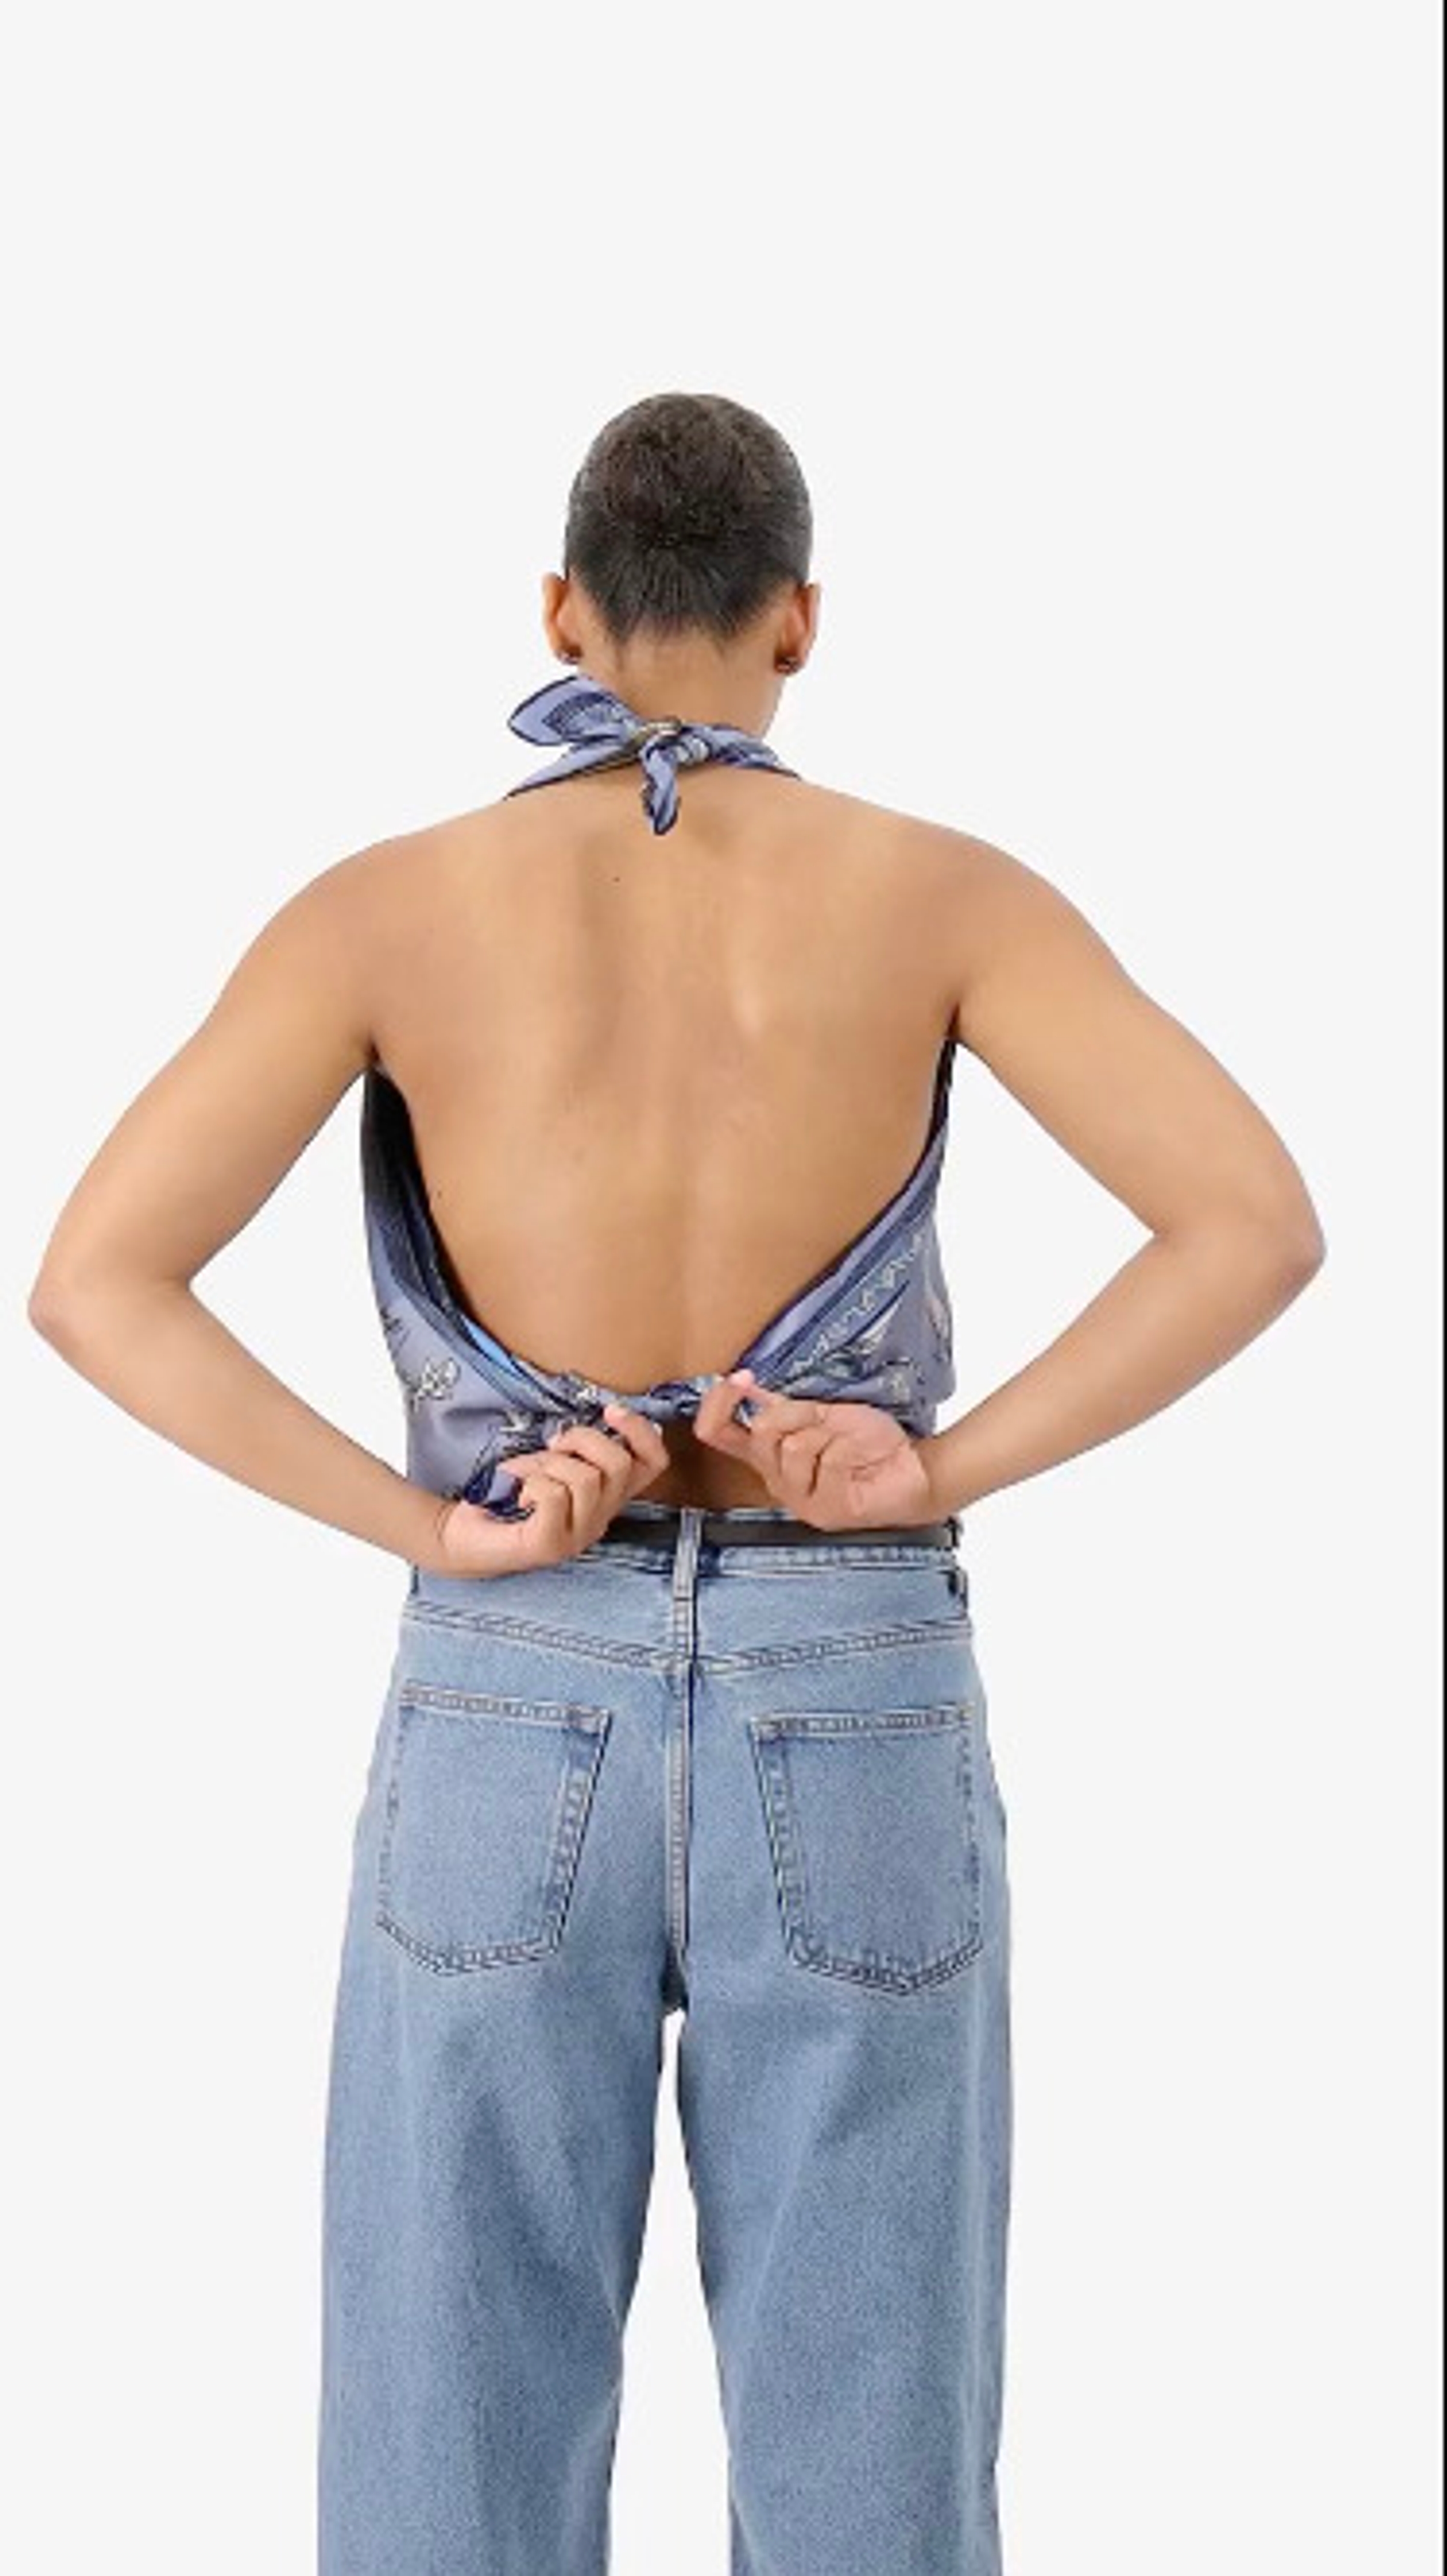
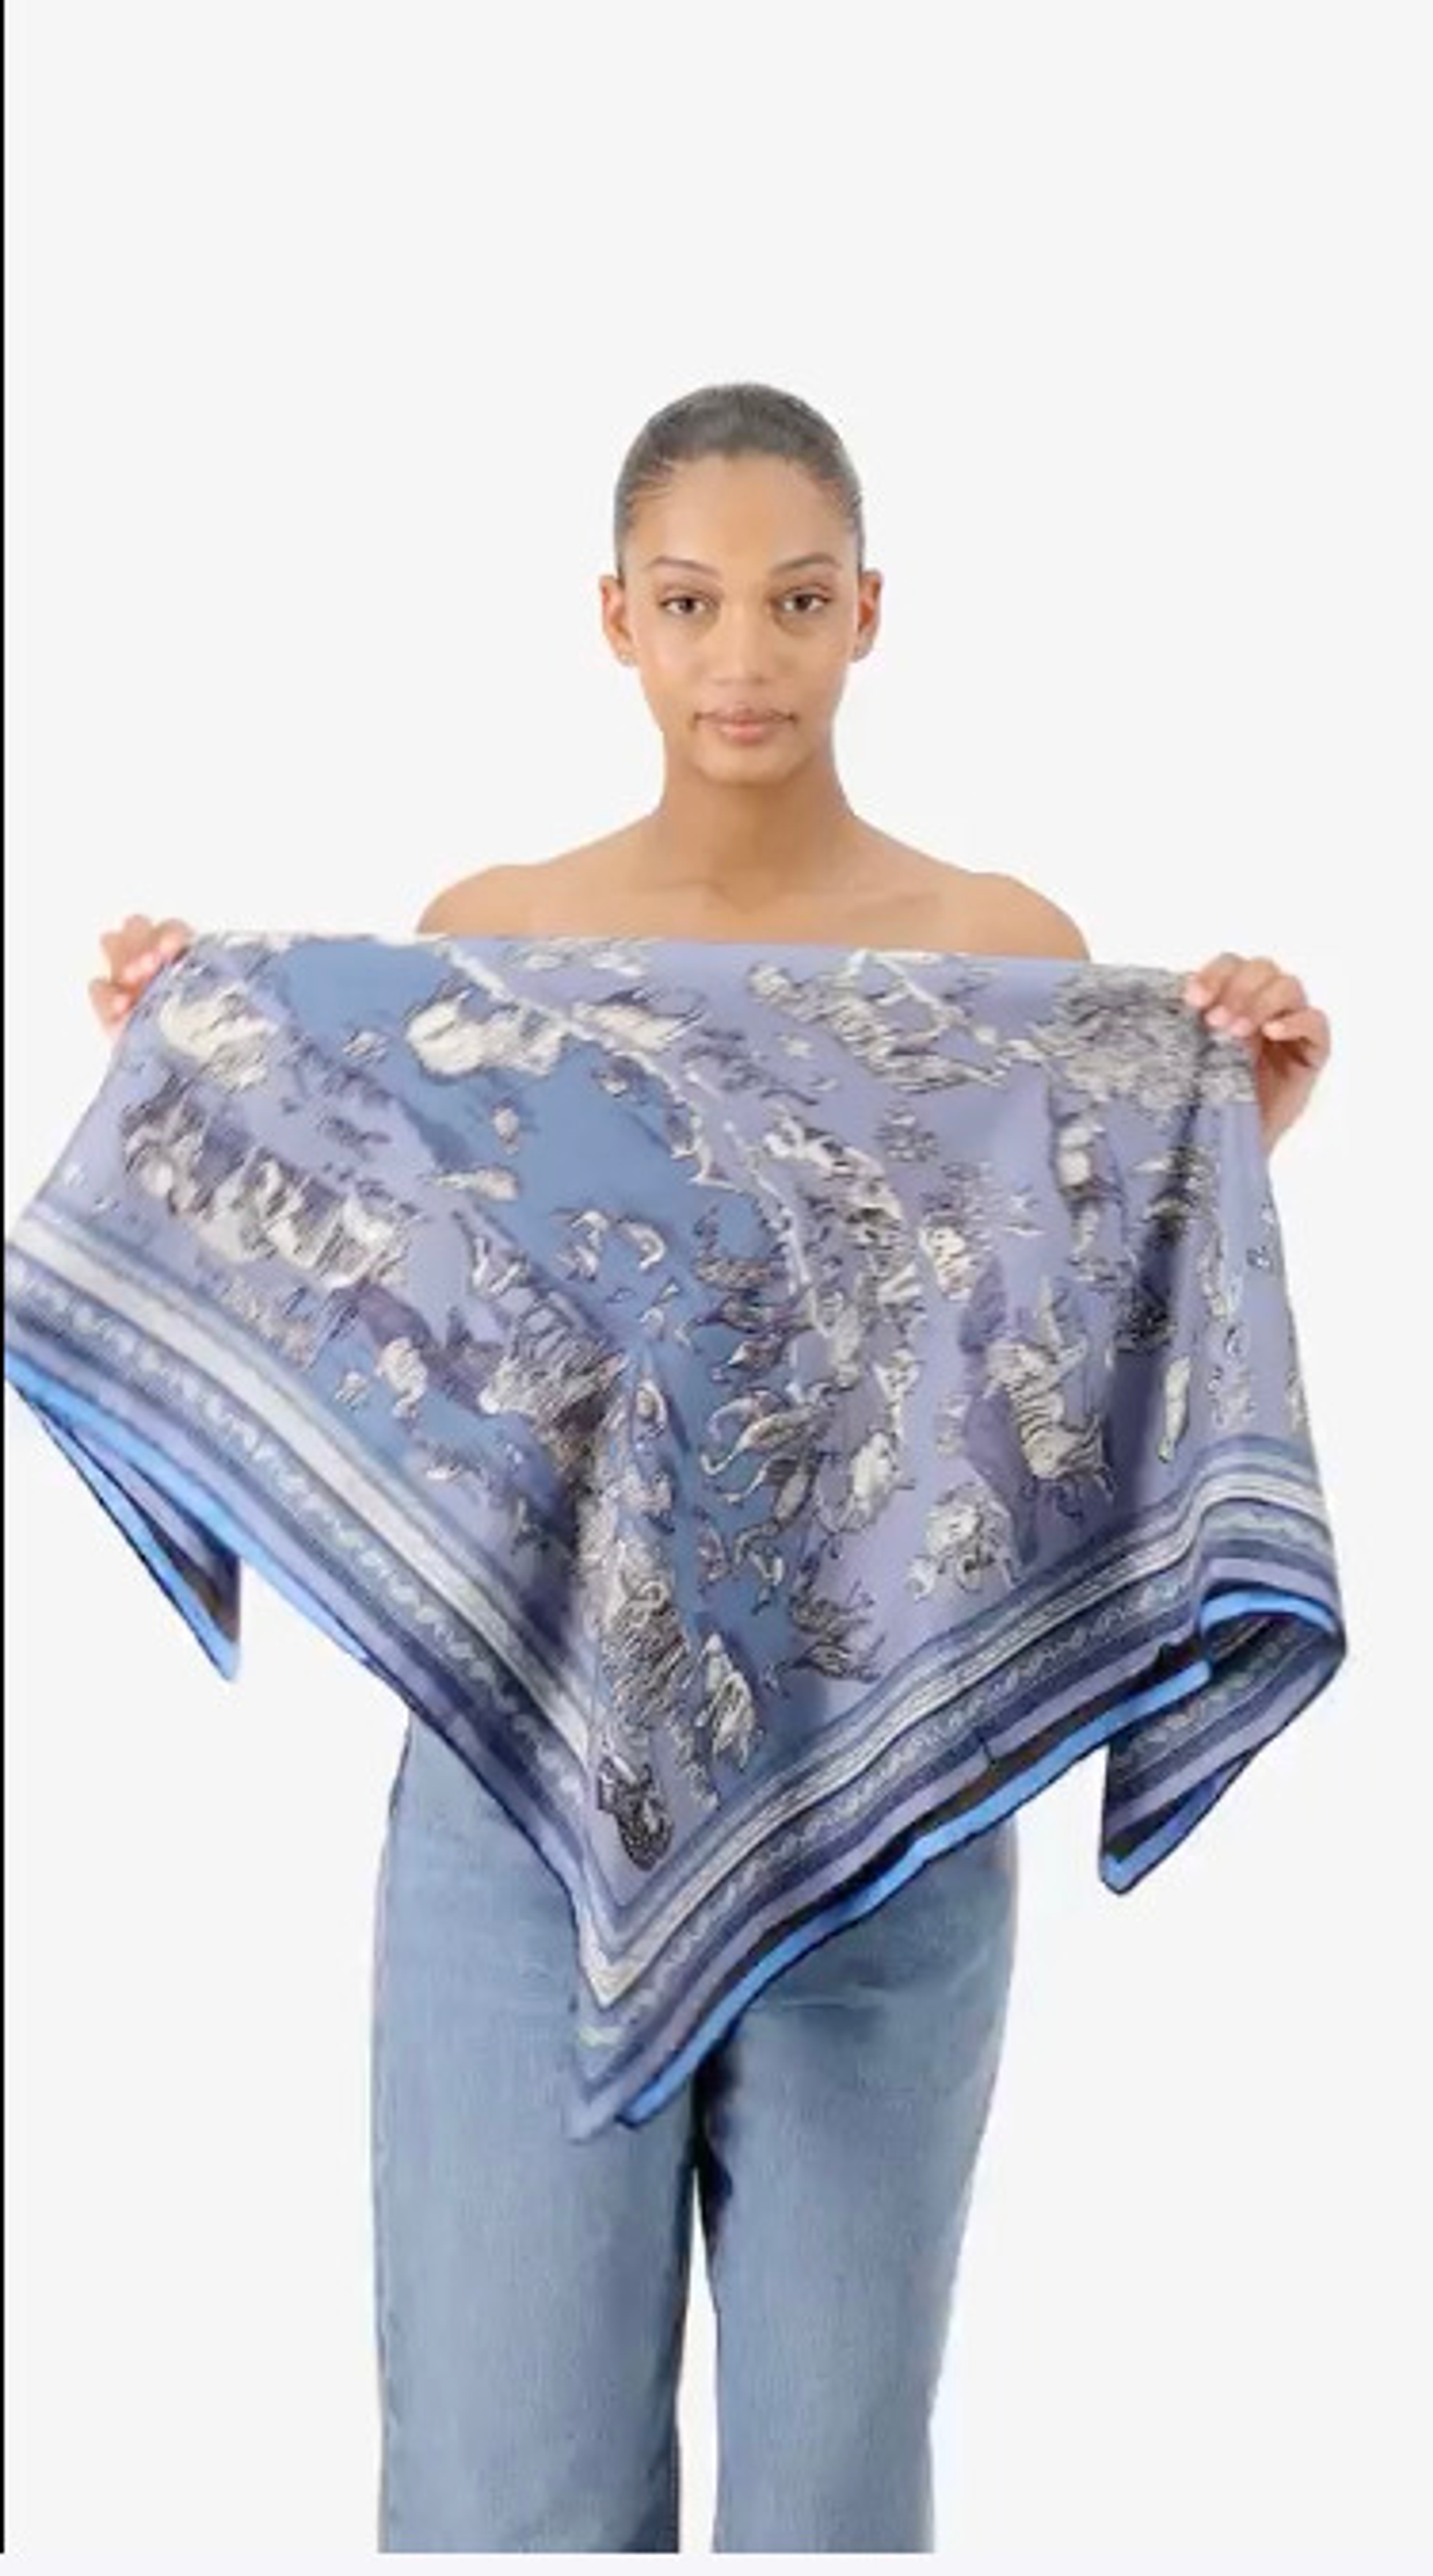
Triangle Bustier
1. Fold your square in half to form a large triangle. 2. Position the point of the triangle down at your chest. 3. Bring both ends around your back and tie them securely. 4. Adjust the fabric so it is centered: a simple and elegant bustier.
Captions not needed: Video has no sound.
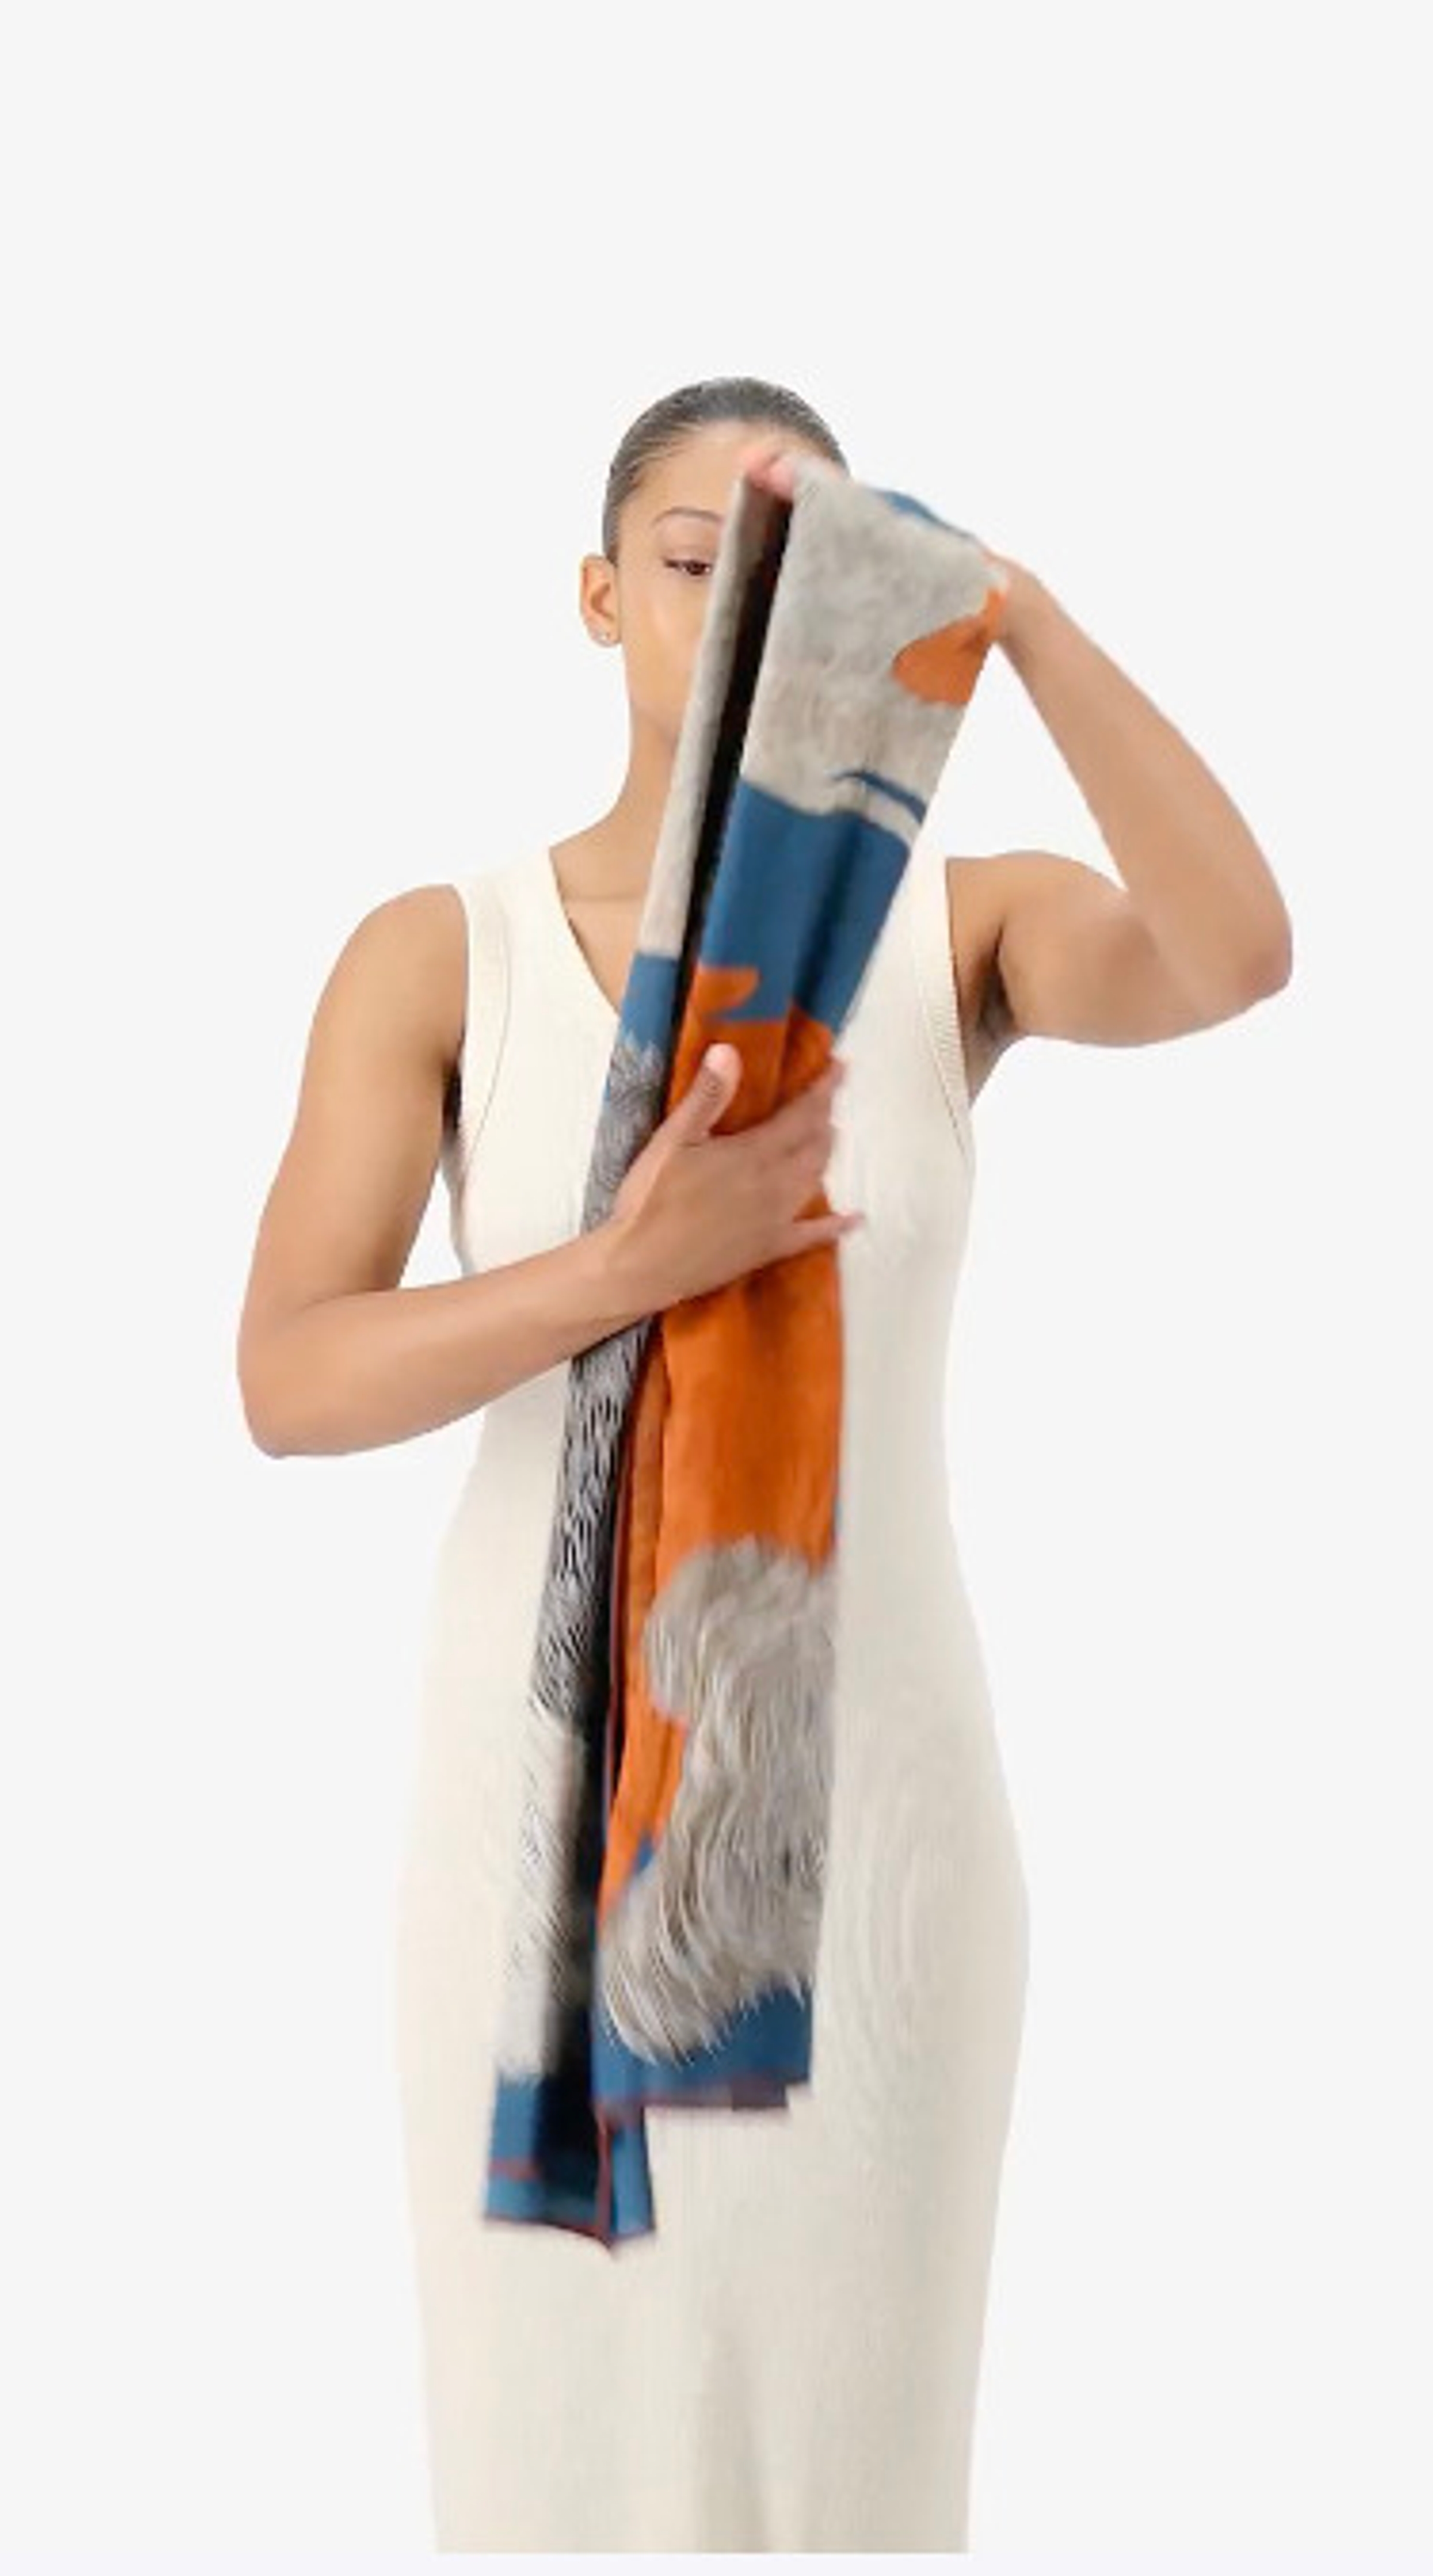
Classic Knot
1. Fold your silk square several times until you have a long, even strip. 2. Wrap it around your neck, letting both ends hang in front. 3. Tie them simply, like a basic knot. 4. Adjust the scarf: a subtle detail that changes the entire outfit.
Captions not needed: Video has no sound.
Basic Knot
1. Fold your silk square several times to form a long, even strip. 2. Wrap it around your neck, letting both ends hang in front. 3. Twist the two ends around each other, then separate them. 4. Bring them behind your neck and tie them simply.
Captions not needed: Video has no sound.
